
druklager wisselen zonder motor uit te bouwen
Ingediend door saco opAs a proud owner of a 1959 850 Mini i thought that i could replace my thrust bearing for my coupling myself. Having seen a video of CMDIY - Pre-Verto Clutch Release Bearing Replacement (CMDIY stands for classic mini do it yourself) (here is the link to the video https://www.youtube.com/watch?v=GFQVFeiHwhM&t=541s ) it looked easy enough. Well it took me 11 days. I will tell you why. It is an original car, with the original paint on the outside and the engine was resprayed. So things are old, somewhat rusty and are also sticking because of the respray of the engine. I also found that the motor mount bolts were a set of bolts and nuts. No welded nuts as in the video.
Detach the grill parts.
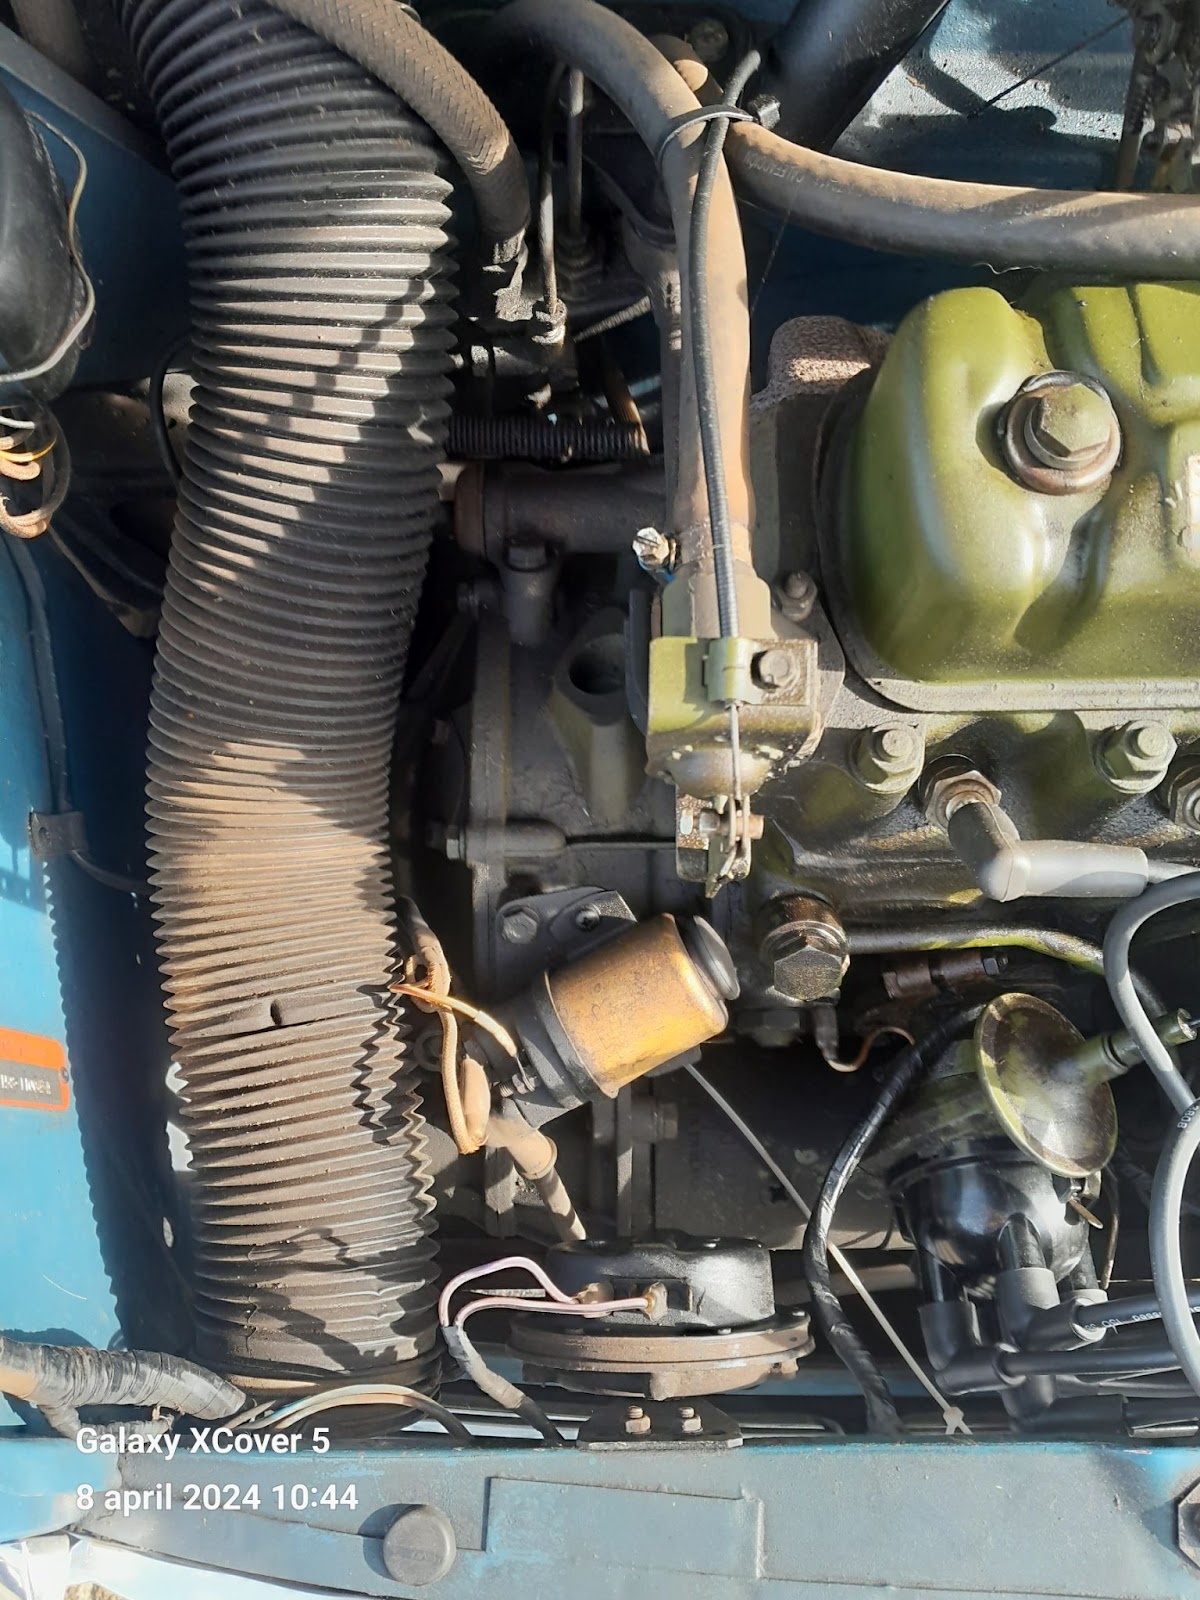
Next remove the air hose from the front holder. Leave the back in place. Do not take it out.
Next release the engine mount on the right side of the engine. In the above picture the left side.
Next release the dog bone engine mount. Englisch measurement 9/16.
Then i tried to release the spring loaded arm between the hydraulic cylinder and the release shaft. No way the pin wanted to come loose or out. So it stayed in.
Next i released the remote starter solenoid. Small bolt and screws. Metric fits.
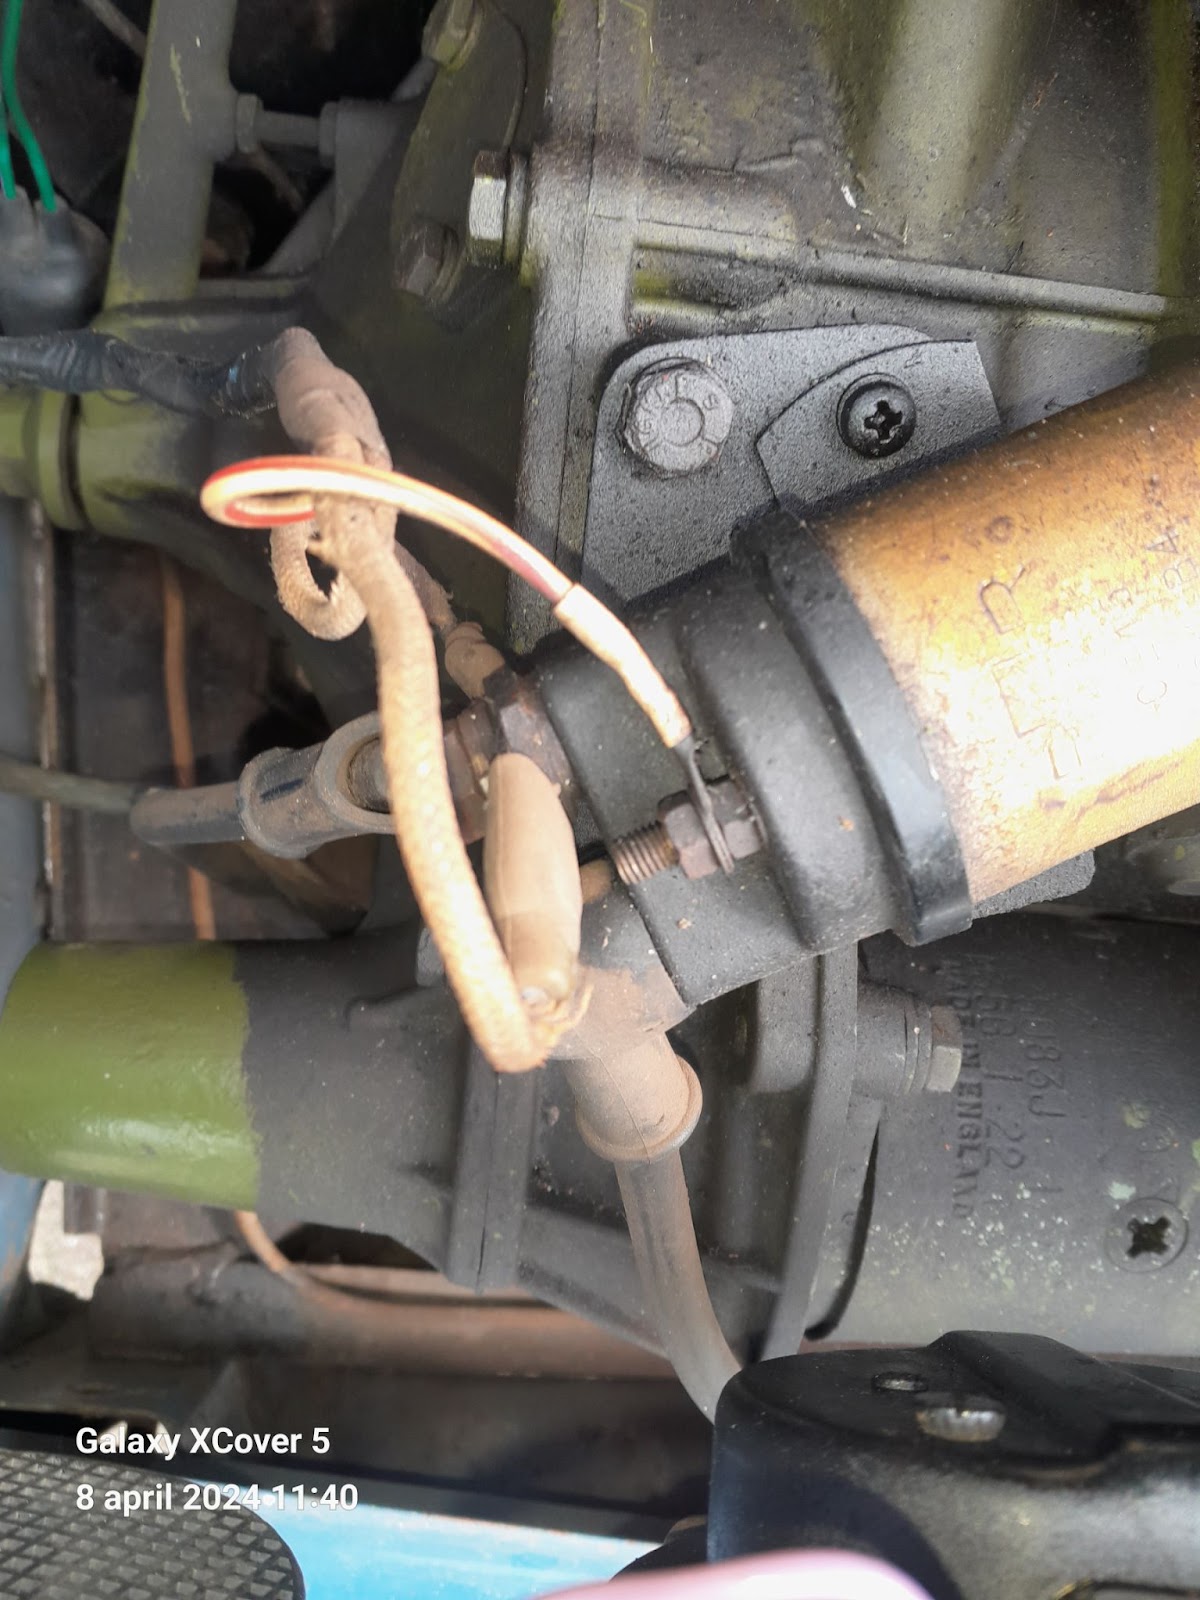
Next i released the starter motor. 9/16 inch.
Next i released the bolts of the cover of the coupling. 1/2 inch. This is almost the the same as 13.
One inch / 2 or 25.4 / 2 is 12.7 mm. The lower ones are hard to reach. So i bought a set of spanners from HBM https://www.hbm-machines.com/ HBM 6 Delige Ring , Ratel , Steeksleutelset met Kantelbare Kop
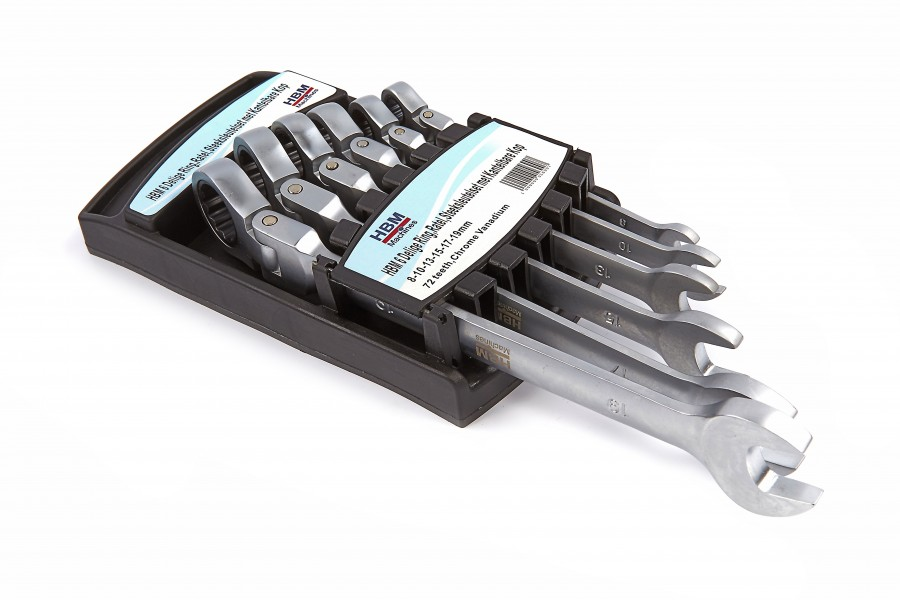
It took two days to arrive. This helped me to reach the hard to reach lower/aft bolts.
The cover of the coupling was loose now.
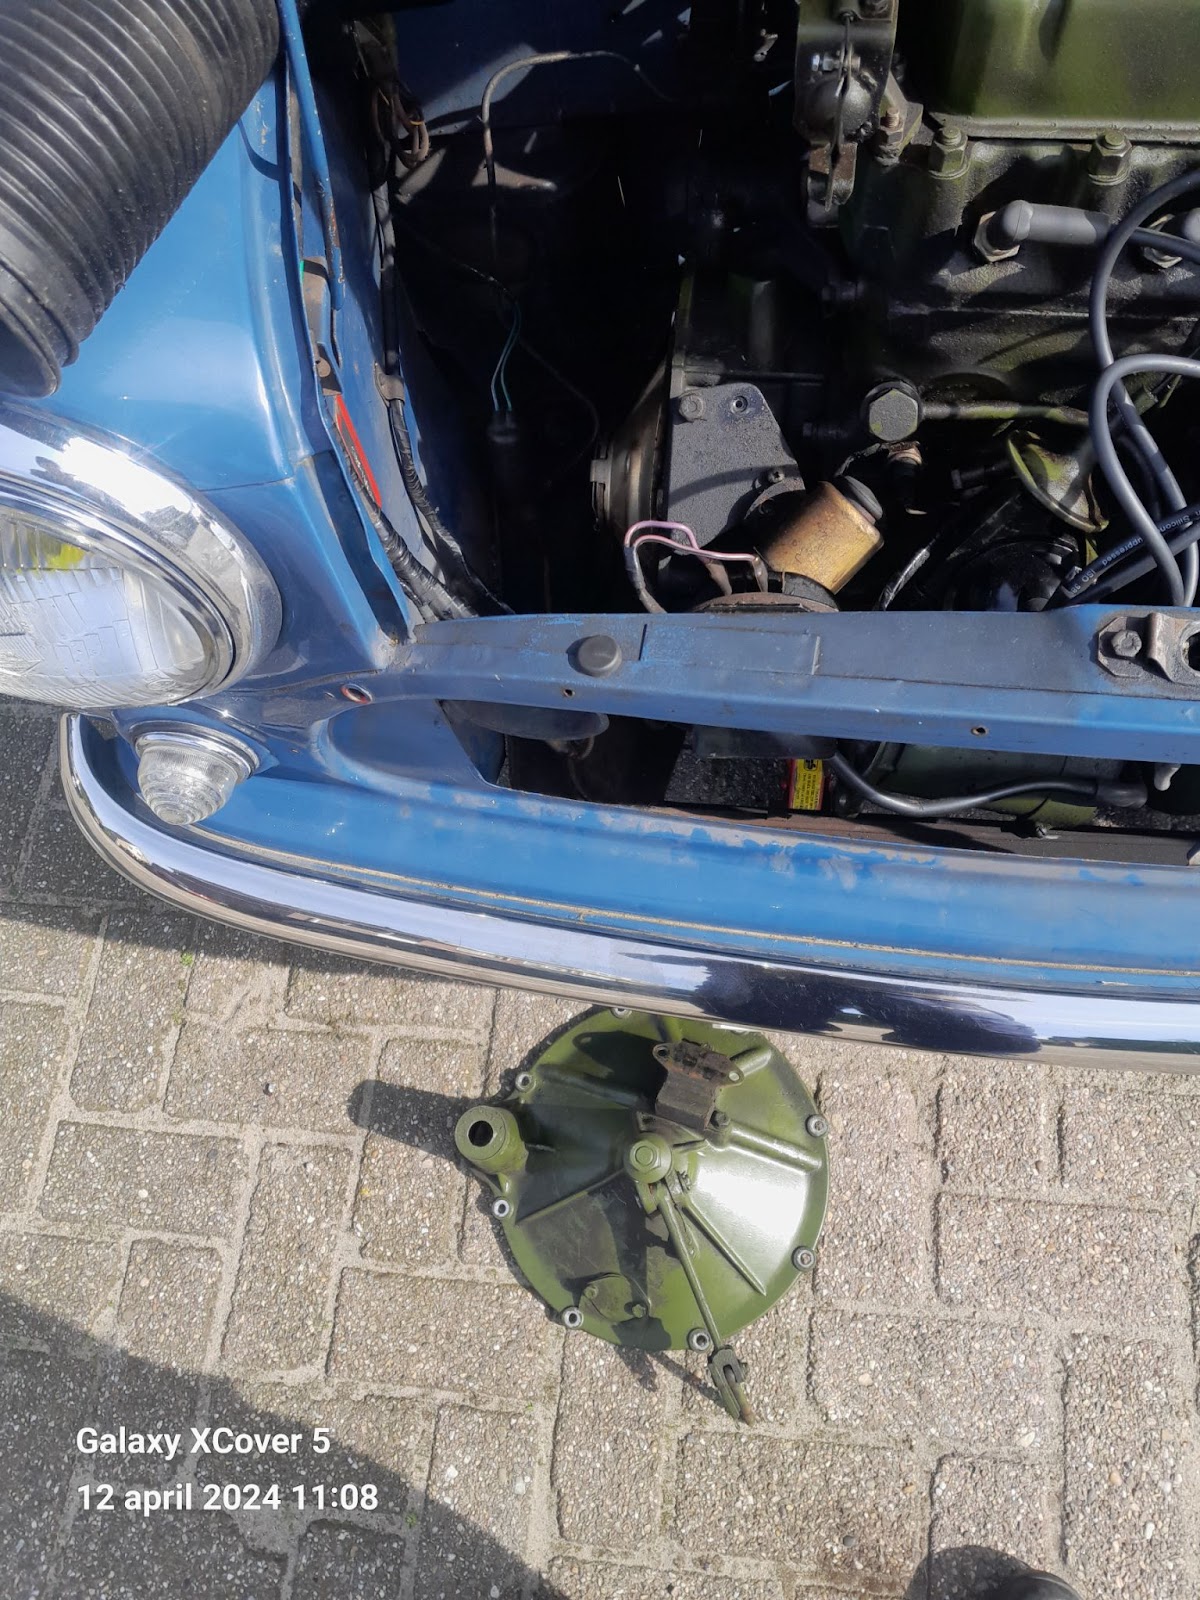
Now i could reach the retaining spring. The shaft could only be hammered out with a punch. The nuts on the end of the shaft were loosened, after measuring and writing down the position on the shaft. The bearing could also be hammered out with a punch, using the cover of the coupling as an anvil. A new bearing was placed and the nuts were placed back. The spring loaded arm was not placed back.
Next the bolts for the cover of the coupling were replaced. Well, not all of them. The ones in the lower / aft side i left out.
Next the spring loaded arm was put back in its position with hammering in the shaft. The ring and a new retaining spring were placed.
Next the starter motor was placed back.
Next the remote starter solenoid was placed back.
Next the engine mount was placed back. To replace the aft engine mount bolt i used a long hex key and a small magnet.
Next the dog bone engine mount was placed back. Put a crowbar between your engine block and the exhaust manifold to wiggle the motor and align the bolt holes for the dog bone engine mount.
Next the grill parts were placed back.
I used two sets of these gloves.
They are sweaty, but keep your hands clean.
Would i recommend to anyone doing this?
No. Remove the engine and you can reach the coupling cover much easier.